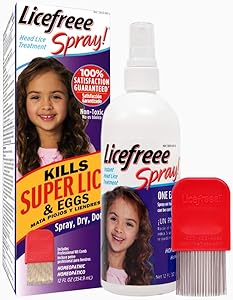
Licefreee Spray, Head Lice Treatment for Kids and Adults, Includes Lice Comb, Family Size, 12 Fluid Ounces
- KILLS LICE ON CONTACT - Licefreee Spray effectively kills lice, eggs and nits on contact, so you can be lice free, effortlessly. 100% Satisfaction Guaranteed and safe on kids six months and older.
- KILLS SUPER LICE AND EGGS - Instead of using harsh chemicals and pesticides, Licefreee contains the naturally occurring mineral, sodium chloride, to kill super lice, eggs and nits.
- EASY TO USE - Hold the bottle 4-6" away from the head. Spray on dry hair and cover the entire scalp until all of the hair is thoroughly saturated. Allow product to air dry. That's it!
- INCLUDES LICE COMB - After applying the spray, comb through hair with the included patented metal lice and nit comb to remove the dead lice, nits and eggs.
- MORE FROM LICEFREEE - Licefreee is the original non-toxic lice brand, introduced in 1999. We have a full line of products to kill and remove lice from hair, body, furniture and bedding.

4 tips to get rid of head lice
To get rid of lice, it is important to use a proper shampoo that works against lice, use a fine-tooth comb daily, wash everything that comes into contact with the hair and avoid sharing hairbrushes, for example. That's because lice can easily be passed from one person to another through direct contact with the hair of another person who has lice or through sharing hairbrushes, hats and pillows, for example.
Getting rid of lice is not always easy, especially in schoolchildren who transmit the parasite more easily even after treatment. However, there are some tips that can help make the treatment more effective and prevent reinfestation, the main ones being:
1. Apply treatment shampoo
Shampoo or treatment spray is a great option and the most effective to eliminate head lice and nits, because they promote the death of lice and nits, facilitating their removal with a fine-tooth comb. There are several shampoos that can be used and that can be applied to dry or wet hair, it is important to read the shampoo label to know which is the most suitable way of application. See more details on how to use head lice shampoo.
In general, it is recommended that the product be applied to the entire hair, from the roots to the ends, and left for about 10 to 15 minutes or according to the manufacturer's instructions. It is recommended that the shampoo be applied again after 1 week, because the development of the lice happens in about 12 days and, therefore, it is important to use the product again to ensure its elimination.
2. Use a comb frequently
The use of a fine-tooth comb is very important to correctly perform the treatment, as it can be used to better spread the shampoo, and also to eliminate lice and check for reinfestation. For school-age children, even after treatment, it is very important to check the hair frequently and with the help of a suitable comb, to prevent the lice from multiplying again.
To do this, you must pass a fine comb through each lock of hair, from the roots of the hair to the ends, placing a white towel or sheet on the table, to more easily identify the lice. This procedure must be repeated with the head facing downwards.
In addition, electronic combs are also available for sale, which kill the louse or nit in a single pass.
3. Wash objects that come into contact with hair
Louse is a parasite that is transmitted through brushes, combs, hats, pillows or sheets, so it is very important to wash these objects frequently to avoid reinfestation or even transmission of the parasite to another person.
Thus, all objects that have been in contact with the child's hair, such as sheets, blankets, clothing, plush toys, hair clips and bows, hats, caps, rugs, pillows and the sofa cover, must be washed if possible in water with a temperature above 60º, or sealed in a plastic bag for 15 days, to asphyxiate the lice.
4. Use repellent
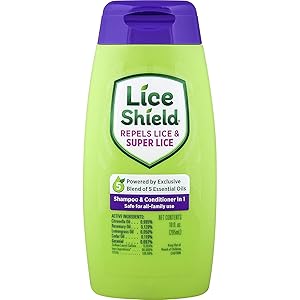
Even if the treatment works and kills all the lice and nits, reinfestation can occur, especially in children when they return to school. Thus, the use of repellents can help prevent the lice from getting close to the child's head, as it has essential oils in its composition that release a smell that the lice do not like and that is why they do not come close.